How can precision optical equipment parts achieve extremely high precision and surface finish through CNC machining?
Release Time : 2025-04-16
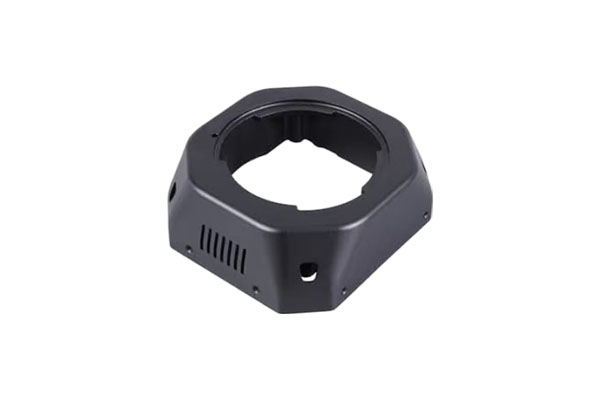
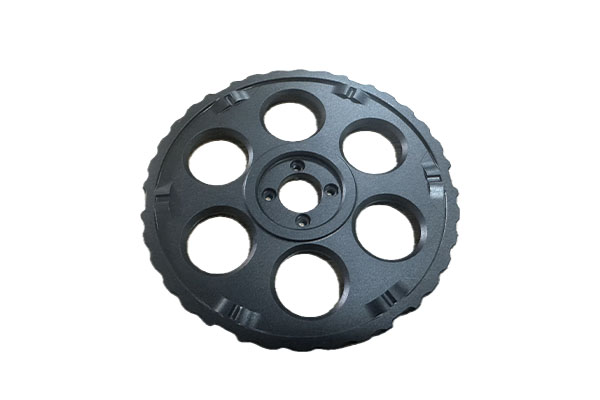
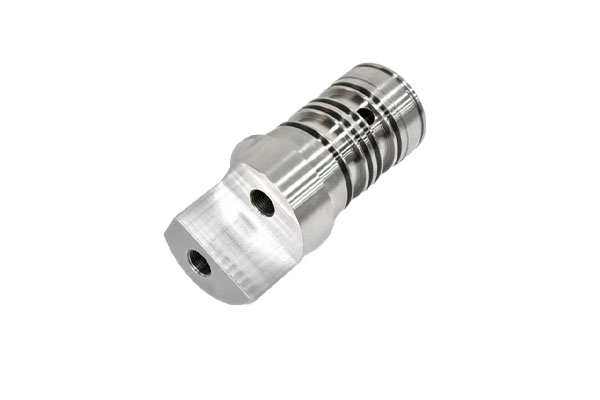
Precision optical equipment parts play a vital role in modern technology, and their quality directly affects the performance and reliability of the final equipment. In order to meet these high standards, CNC (computer numerical control) machining technology is widely used because it can achieve extremely high precision and surface finish. This process involves several key steps and technical details that together ensure the excellent quality of the parts.
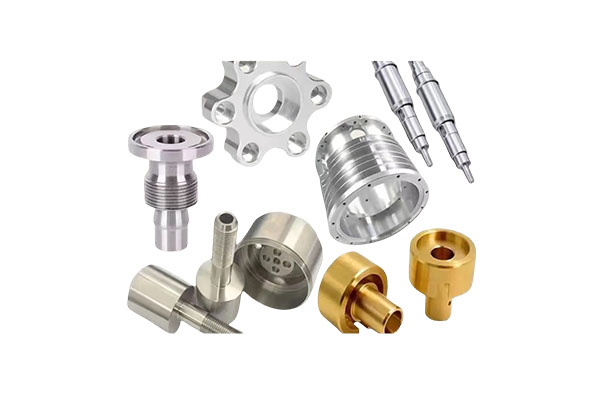
First, the foundation for high precision and excellent surface finish is laid in the material selection stage of precision optical equipment parts. For optical equipment, commonly used materials include aluminum alloys, stainless steel, and various engineering plastics. Each material has its own unique physical and chemical properties, such as hardness, thermal conductivity, and corrosion resistance. For example, aluminum alloys are widely used in optical frames because of their light weight and easy processing; while stainless steel is an ideal choice for making high-precision optical platforms due to its excellent mechanical strength and corrosion resistance. In addition, some special optical glass or ceramic materials are also used in applications that require extremely high transparency or reflectivity. By selecting the right material, the accuracy and surface quality in the subsequent processing process can be significantly improved.
Next is the CNC programming link, which is a crucial part of the entire processing process. Skilled engineers use professional CAM software to generate detailed processing instructions based on the design drawings. These instructions not only include the cutting path, but also specify parameters such as cutting speed and feed rate. The optimized programming scheme can minimize tool wear and improve processing efficiency while ensuring the dimensional accuracy of the finished product. It is worth noting that the five-axis linkage CNC machine tool is particularly useful when dealing with complex geometric shapes. It can control the movement in five directions at the same time, so as to achieve accurate processing of complex curved surfaces, which is essential for manufacturing aspheric lenses or other precision optical components.
In the actual processing of precision optical equipment parts, temperature control is one of the key factors affecting accuracy. Since metals expand when heated, even small temperature changes can cause dimensional deviations. Therefore, advanced CNC machine tools are usually equipped with temperature control systems that can maintain a constant temperature environment in the processing area. In addition, the use of coolant can not only take away the heat generated by cutting, but also play a lubricating role to prevent deformation or damage caused by friction between the tool and the workpiece due to overheating. By strictly controlling the temperature and humidity of the processing environment, errors caused by thermal expansion and contraction can be effectively avoided, ensuring the consistency and accuracy of part dimensions.
Another factor that cannot be ignored is the selection and maintenance of tools. High-quality tools have good wear resistance and sharpness, and can maintain high cutting efficiency after long-term work. It is crucial to choose the appropriate type of tool according to different material properties and processing requirements. For example, diamond-coated tools are suitable for processing carbide or optical glass because they can provide extremely high hardness and wear resistance; for soft materials, high-speed steel tools may be more inclined to obtain better surface finish. Regular inspection and replacement of tools is also one of the important measures to ensure processing quality. Timely detection and resolution of tool wear problems help maintain stable processing results.
Finally, after preliminary processing, precision optical equipment parts also need a series of fine post-processing processes to further improve their surface finish. Common methods include grinding, polishing and ultrasonic cleaning. Grinding can improve roughness by removing tiny surface defects and flattening irregular areas; polishing uses fine-grained abrasives to make the surface as smooth as a mirror, which is particularly important for optical components; and ultrasonic cleaning can effectively remove residual debris and contaminants to ensure that the surface of the parts is clean and flawless. These post-processing steps can not only significantly improve the appearance quality of the parts, but also help enhance their optical properties, such as transmittance and reflectivity.
In short, by carefully selecting materials, optimizing CNC programming, strictly controlling the processing environment, rationally selecting and maintaining tools, and implementing meticulous post-processing processes, precision optical equipment parts can achieve extremely high accuracy and surface finish during CNC processing. This not only meets the demanding requirements of modern optical instruments for parts, but also provides solid technical support for promoting scientific and technological progress. Whether used for scientific research or industrial production, these high-quality parts are indispensable key components.


